Translator

Friday 27 October 2017

Wonderful Time of the Year


Hi everyone, today for my DT post at Cherish The Memory I am sharing with you all some more inspiration using the beautiful Die Cut pads from the Studio Light Range. These pads are super fun to create with and ideal for this time of year when you need several Christmas cards. Cherish The Memory have a fab range of these pads so do check them out HERE.


I added lots of layers to my card distressing at the 
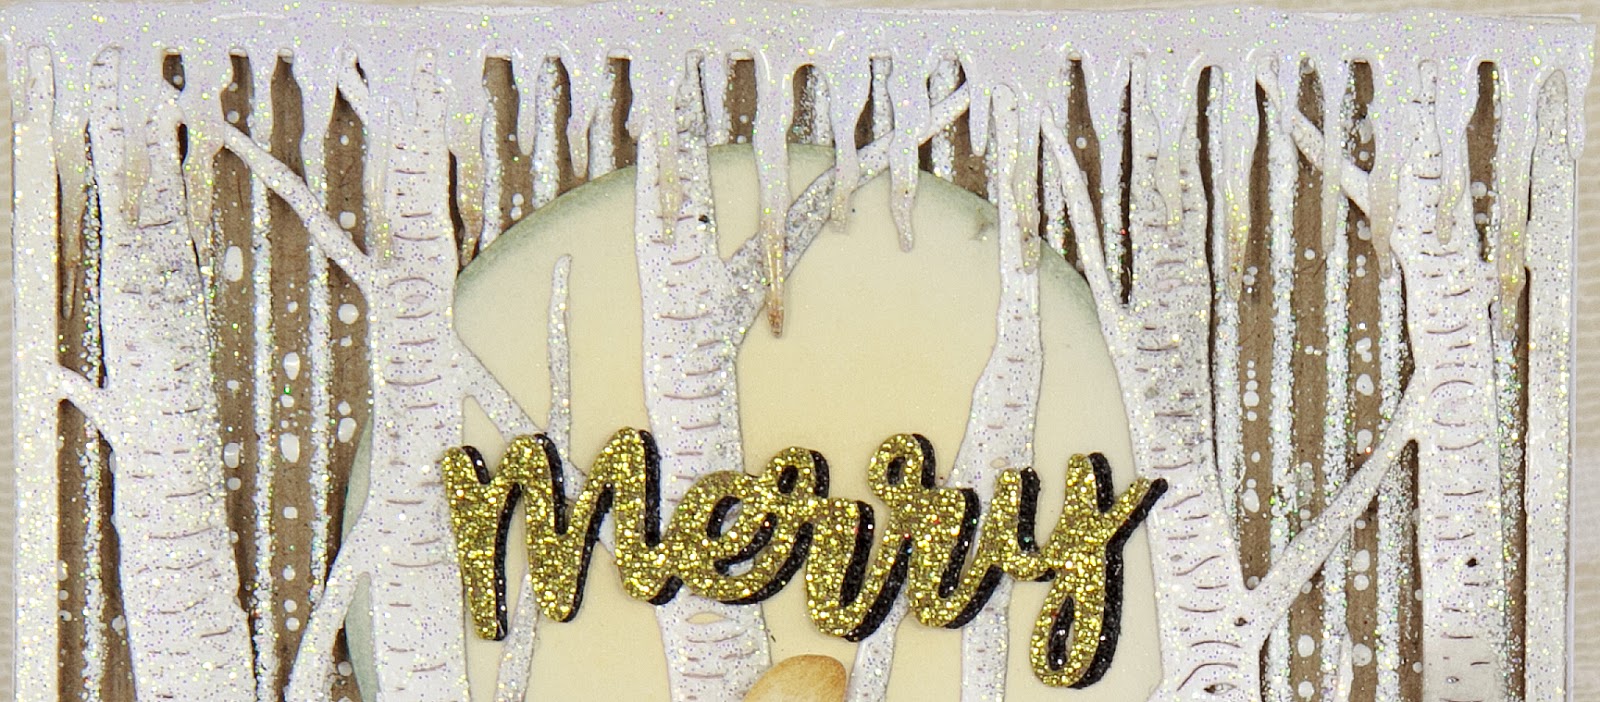
edges and adding Ink. My main image was mounted with foam strips to add dimension.


My Winter foliage was also inked at the edges and shaped on my Embossing mat to give more dimension and glued in place with Silicone Glue. I finished with Die Cut snowflakes from Cheery Lynn, lots of glitter and small snowballs.

Thanks so much for stopping by today, your visits are always appreciated.
Please check out Cherish The Memory Etsy Shop to see their beautiful range of papers and craft packs with new items being added weekly. You can also follow them on the following links :

Crafty Hugs, 

Julie x

Wednesday 25 October 2017

Bats and Ghouls


Hi fellow crafters, today for my DT card at Cheery Lynn Designs I am sharing some Halloween inspiration with my spooky card. I always have great fun at this time of the year creating cards with scenes on them.


For this card I decided to make my own inky background using Distress Inks and mounted it onto white cardstock. 


My spiders web was drop shadowed adding another inky layer on top with my sentiment which compliments the Twisted Tree Die so well. Finishing this area with a couple of scary ghouls.


My skeleton I cut his legs off and then placed all the parts behind the gravestone in a fun abstract way.


My Twisted Tree I decided to lay on its side to look like a spooky branch also adding a drop shadow to it. I then added my crow and attached my bats on to the branch by drawing a line with a fineliner pen.

Thanks so much for stopping by today and I hope you feel inspired to create a fun Halloween card.

Crafty Hugs, 
Julie x

Cheery Lynn Dies Used :

Monday 16 October 2017

Cheery Lynn October Blog Hop


Hi everyone and a warm welcome to my blog. Today at Cheery Lynn Designs we are having a blog hop sharing lots of inspiration with our Winter themed cards. So let me take you through my design.


I started by cutting out a stitched rectangle stacker die in white cardstock. I sprayed some Wintry shades of Distress Sprays and a little water onto my mat and swiped my card through picking up the ink. I dried my card and next sprinkled some Frantage for a snowy effect, finally adding some glittered diecut snowflakes and mounting onto my glittercard.


My houses were diecut out in white glitter card adding some yellow card behind the windows. I coloured the trees with Copic Pens and finished with a little Archival Ink on the edges of the houses and some Snowtex and Glass Glitter for extra sparkle.


My Polar Bear and Penguin are both cut out in several colours of glitter card, layering together and adding extra detail on the embossed areas of my Dies with a fine liner pen and finishing the hats with more Snowtex and Glass Glitter.

I'd love for you to leave a comment before you go, I love reading them all and please be sure to leave a comment as you arrive back at Cheery Lynn Designs to be in with a chance of winning a $20 shopping spree.

Saturday 14 October 2017

Hello Beautiful


Hi everyone, thanks so much for stopping by today to see my DT card for Cheery Lynn Designs


My card uses one of the many pretty background designed Dies. I started by cutting this out in pearlised cream cardstock and mounted onto the same card to form the base of my card. Cheery Lynn's word dies come in two different sizes which are great for layouts and cards. I decided to use the smaller Die on my word Hello and the larger Die on my word Beautiful.


My Daises were cut out in the same cream cardstock adding Distress Ink onto them and Prills into the centres. I mounted them onto my Ivy Corner Flourish which I also arranged a few extra leaves using my Ivy Strip Die and finished with some Butterflies.

Cheery Lynn Dies Used-

Crafty Hugs,

Julie x

Thursday 12 October 2017

Love You Longer


Hi everyone, for my DT post with Craft Consortium I have made a mixed media wall hanging which measure approximately 6.5" x 9.5".


I started by adding some Rose Gold paint around the edges of my wood panel and then added a sheet of paper which I tattered at the edges before gluing in place. I continued layering up with tattered torn layers which had lace added to the edges for a shabby vintage feel. These layers were all glued in place with foam strips to add extra dimension.


My frame I mounted my bridal couple into was purchased from a bargain shop. I painted it in a coordinating soft pink adding some lace and Gilding Wax.


I used my Kori Kumi Die Cut leaves and Heat embossed with Rose Gold to give a metallic feel. I added a Resin Rose into the centre of my Shabby Ribbon Rose. Finishing with a stamped sentiment and lots of pretty Pearl embellishments.

Thanks so much for all your lovely comments and please do check out Craft Consortium and follow them on Facebook and Instagram for regular inspiration and giveaways.


Crafty Hugs,

Julie x

Monday 9 October 2017

Winter Magic - Cherish The Memory


Hi everyone, today for my DT post at Cherish The Memory I am showing one of the brand new Christmas Die Cut pads made by Studio Light. These pads are super fun to create with and the possibilities with the designs is endless. Please do check out all the amazing Die Cut Pad designs stocked at Cherish The Memory HERE.


My base layers started with Kraft card, Silver Glitter card, touches of cheesecloth and diecut patterned square from my pad adding a touch of lace and a foliage Die Cut strip.


My wintry pictures I added a scattering of Frantage, Cheery Lynn's Icicle strip and snowflakes for added interest, finishing with the adorable little Deer and Rabbit.


My diecut leaves, baubles and sentiment strip all come from my Die Cut Book. I added Resin Flowers from Craft Consortium and finished off my card with lots of small polystyrene snowballs and iced glass glitter for an added wintry look.

Thanks for stopping by today and please check out Cherish The Memory Etsy Shop to see their beautiful range of papers and craft packs with new items being added weekly. You can also follow them on the following links :
Crafty Hugs, 
Julie x

Tuesday 3 October 2017

Merry Christmoose


Hi everyone, today for my DT card at Cheery Lynn Designs I am sharing a fun Christmas card with you, using a few of the new Dies from their Fall and Winter release.


I started by cutting out my Aspen Tree Die in White Cardstock and Heat embossed some white glitter powder for a glistening snow effect, adding touches of grey Archival Ink to the edges for definition. This was mounted onto corrugated card which I had heat set sprinkles of Frantage onto for more snow, placing my moon between the layers.


My icicles were cut out in white glitter card and a layer of Glossy accents onto them. My sentiment was drop shadowed to make it pop.


My super cute Moose was cut out in Kraft card using a fineliner pen to highlight the embossed areas. I added Ink to the edge of his cream antlers and a sparkly festive scarf.

Thanks for stopping by today and I hope you manage to have some creative time this week.

Crafty Hugs, 

Julie x

Cheery Lynn Dies Used -
M4 Circle Classic

LinkWithin

Related Posts Plugin for WordPress, Blogger...
01 09 10